Chenille-It Sew Along: Week 4
Welcome to Week 4 of the Chenille-It Sew Along of my ‘Tis the Season quilt panel. Can’t believe the end is already here. Last week, we focused on getting our panels quilted. For the final week, we are trimming, binding (with more Chenille-It!), and finally getting our panels washed/fluffed! If you’re new, you can find the full schedule (with links for each week) at the bottom of this post.
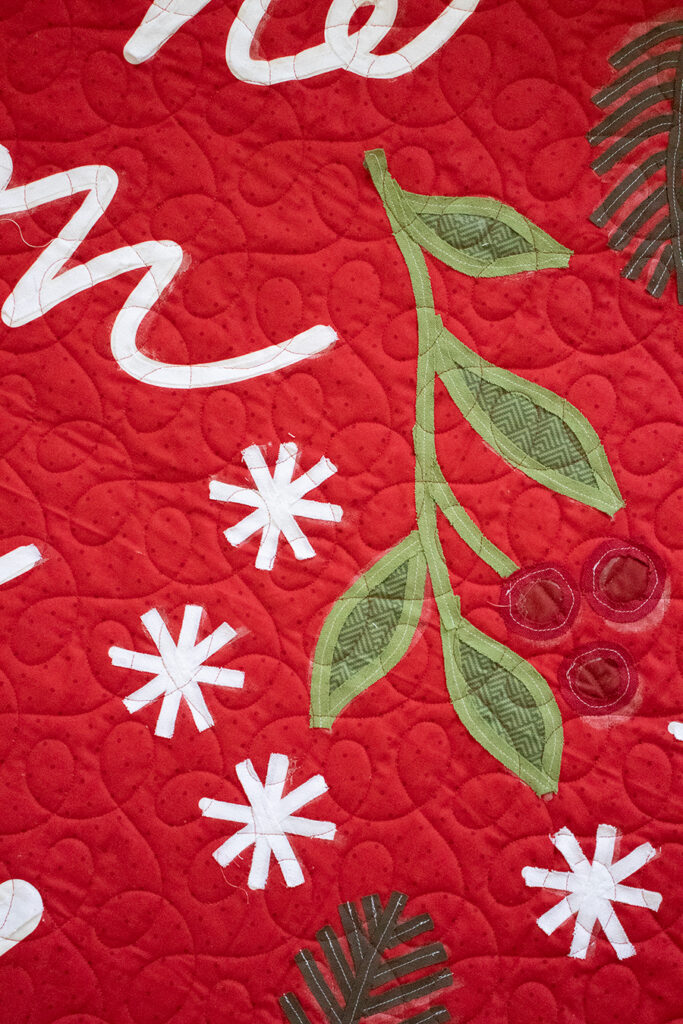
But first – congrats to Kathleen Johnson @kdj_makes for winning last week’s fat eighth bundle of Christmas Eve fabric. (Congratulations!) There will be another giveaway for participants this week – details at the bottom of this post.
Week 4: Trimming/Binding/Washing
Trimming
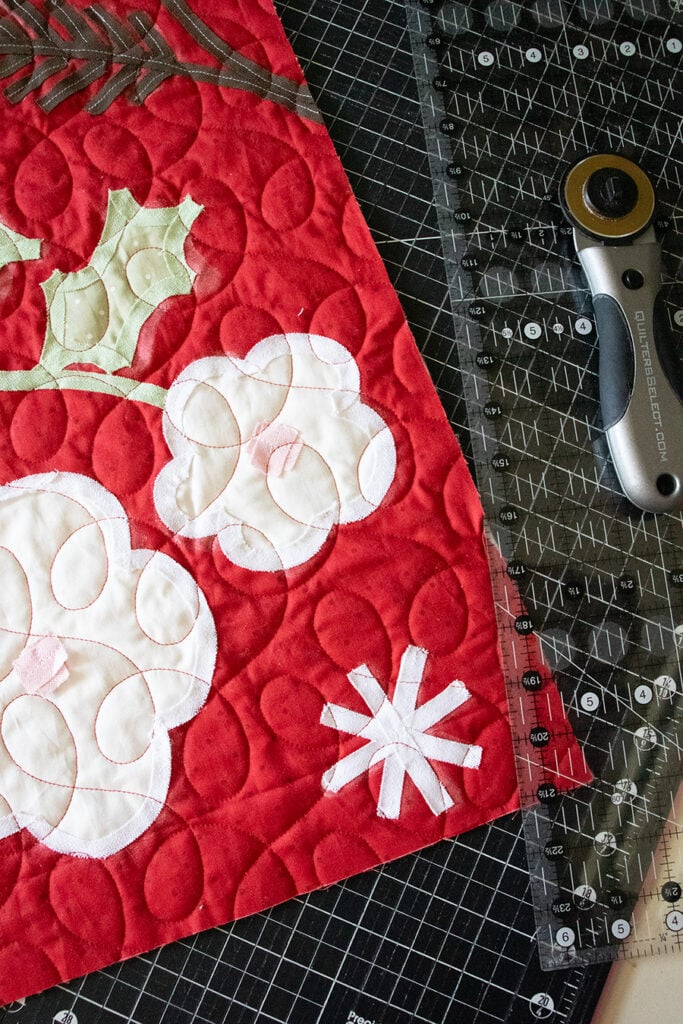
Once your panel is quilted, the first step is to trim it up! I had Kaitlyn at Knot and Thread quilt mine with a loose pantograph called “Modern Twist Unraveled.” (Big shout out to her for rushing this back to me.) Now one thing I have noticed with trimming up panels is they never seem to be perfectly rectangular. I think I ended up trimming up to 3/8″ off the panel in certain areas to get it squared up properly so just a heads up, that is perfectly normal.
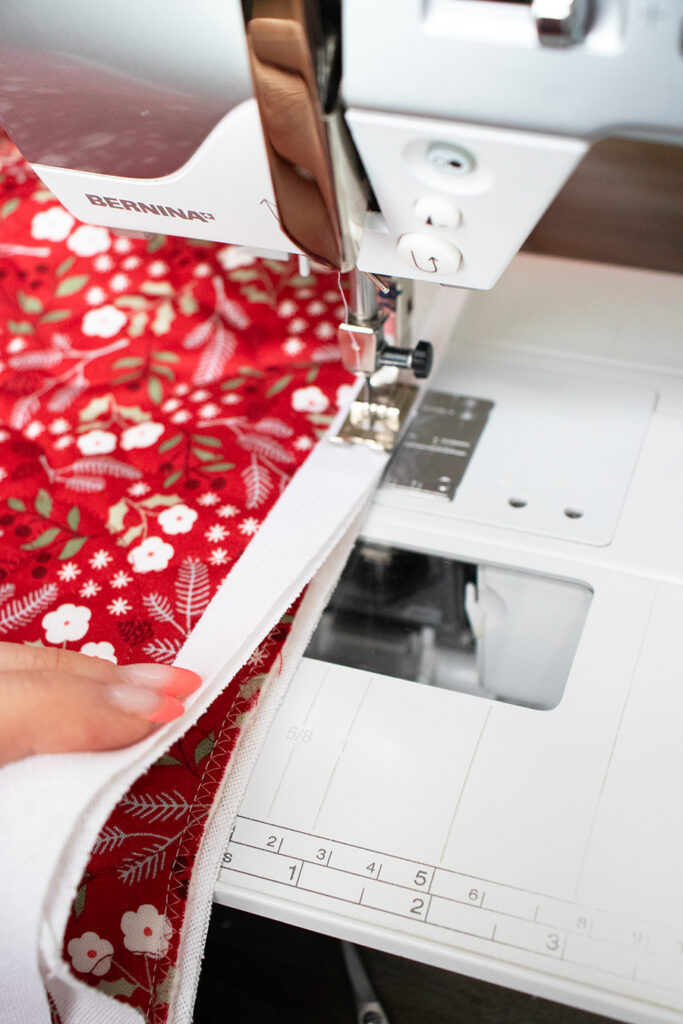
After the quilted panel is trimmed, you will want to serge the edge with a serger -OR- if you’re like me and don’t have one, use a zigzag stitch to serge the ends that way. This is to ensure we don’t get fraying around the perimeter after it’s washed.
Binding
The next step is to bind it. I would recommend watching Nanette’s video for all the tips and tricks. The gist is we are going to stitch down (2) layers of the 5/8″ width on both sides of the quilt. Which means a total of 4 layers for the binding. It is easiest to cut the lengths ahead of time.
As you stitch the binding down, you want it to overhang the edge of the quilt by 1/8″. (This is to hide the raw edge of the quilt.)
Once it’s bound, it’s ready to wash!
Washing/Fluffing
If you watched the video, you know already that Nanette offers a wide variety of tips. I will try to sum them all up here:
- Use color catchers in the wash
- Wash at a cold temp.
- Use a Chenille brush to help loosen some of the fibers that might be caught. (Washing alone may not get it frayed to how fluffy you want it.)
- The more agitation in the wash, the better. Throw in a couple towels, shoes, etc.
- You may want to wash it a couple times.
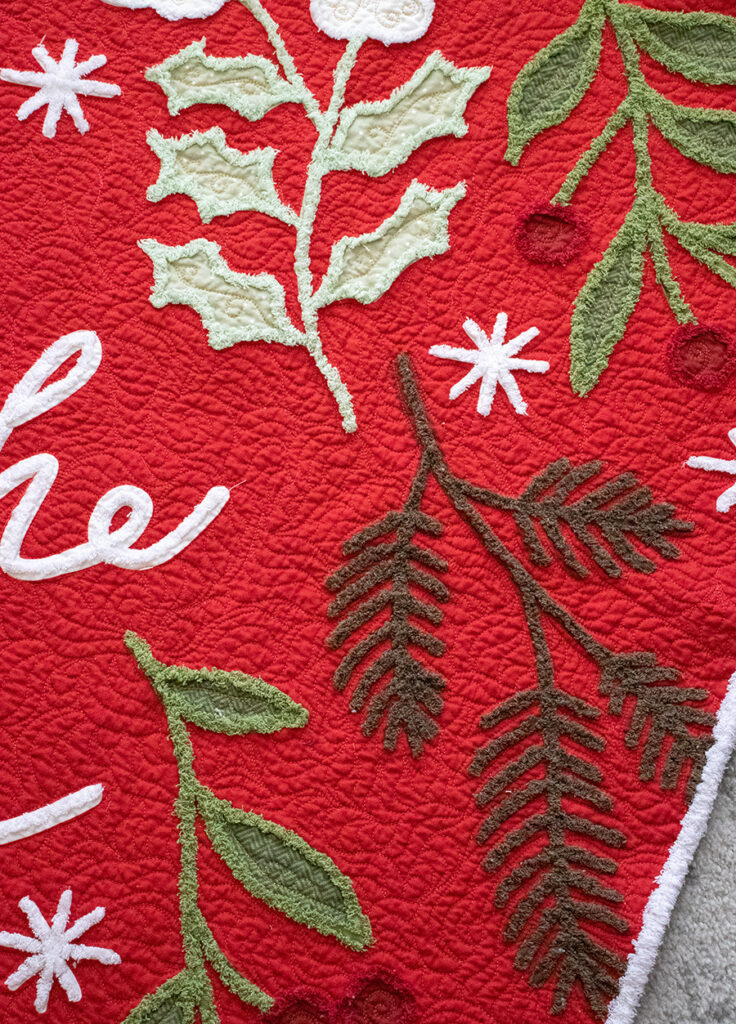
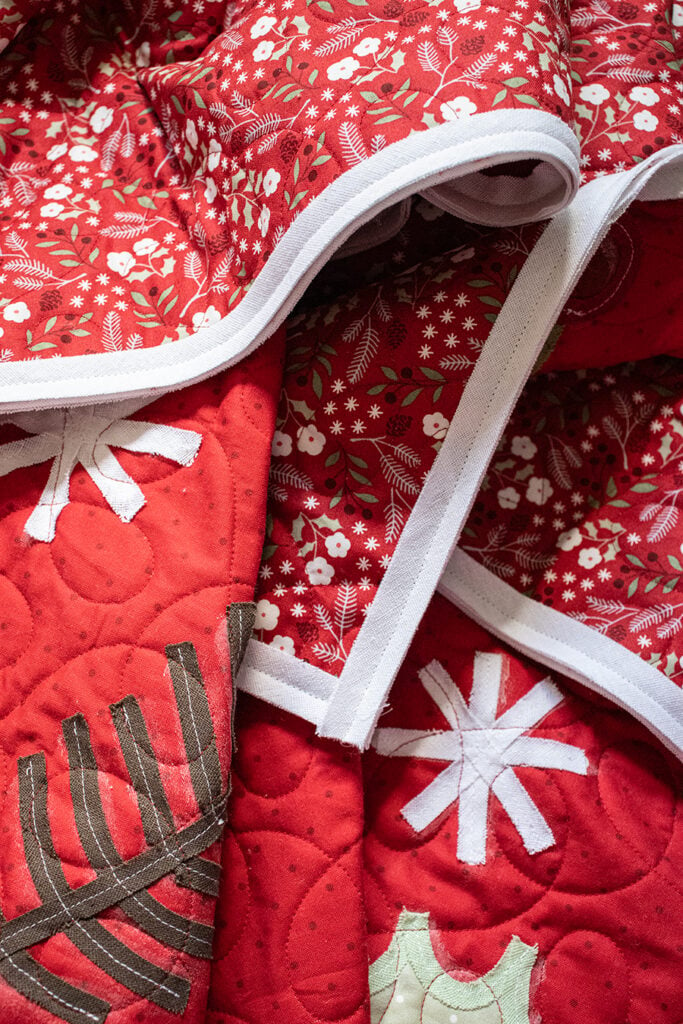
Now I haven’t had a chance to wash mine yet – but I did take some pics of Nanette’s sample months ago, so this should give you an idea of what it will look like. If you have any questions, definitely reach out to us (Instagram is generally the quickest way to get a response).
Post for Prizes #ChenilleItSAL
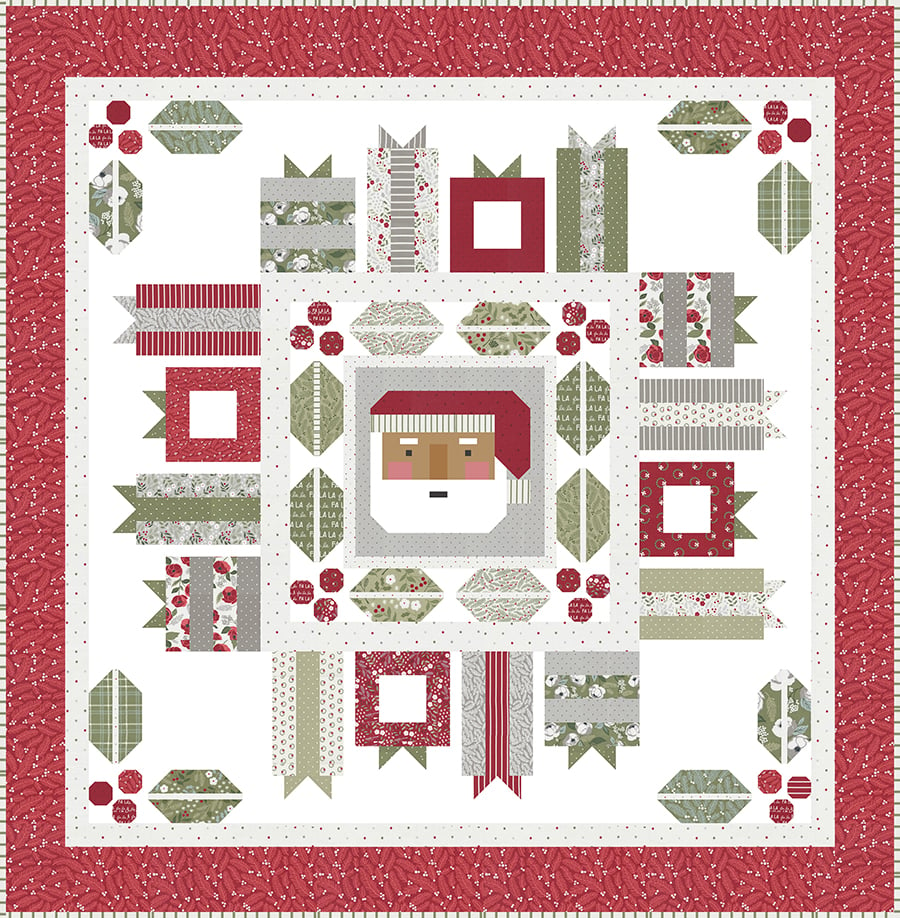
Of course I am offering another prize for this final week! Post a pic of your progress for Week 4 on social media and use the hashtag #ChenilleItSAL to be entered. The prize for Week 4 is a Jolly Holiday boxed quilt kit in Christmas Eve fabric. Pretty awesome prize, if you ask me! I will announce the winner in a couple weeks since I’m heading out of town later this week. Hopefully that will give as many people a chance to enter as possible!
Can’t wait to see how your panels turn out! To check out the full Chenille-It Sew Along process, here’s a full listing of the tutorials:
Week 1: Embellishing the Letters
Week 2: Embellishing the Floral Elements
Like this post? Drop your email in the box below to get new post notifications via email.
Leave a Reply
You must be logged in to post a comment.

