
Coated Prints 101: Sewing with Laminates
The Bloomington fabric collection has hit shops… and with it, Moda added something a little extra–coated prints! In case you’re wondering, coated prints = cotton prints coated with a laminate layer. (I’ll use the terms “coated prints” and “laminates” interchangeably.) As you might guess, laminates come with their own set of rules, so today I’m sharing a few tips and tricks about working with laminates in general.
Benefits of Sewing with Laminates
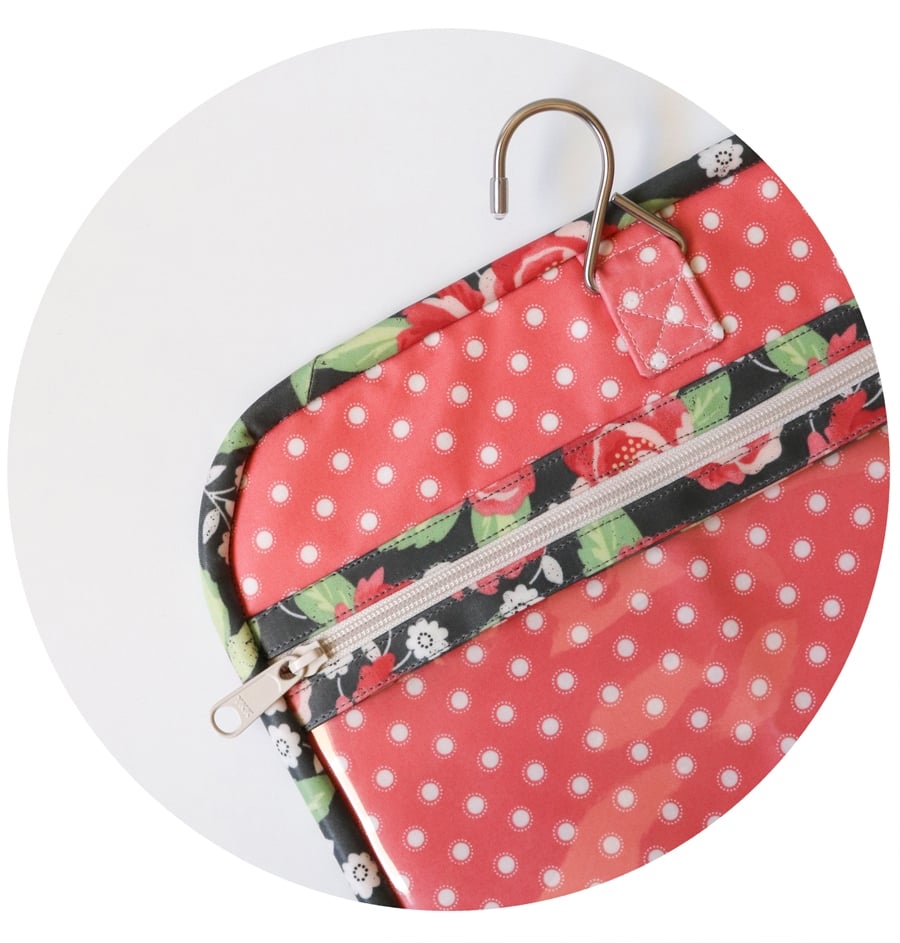
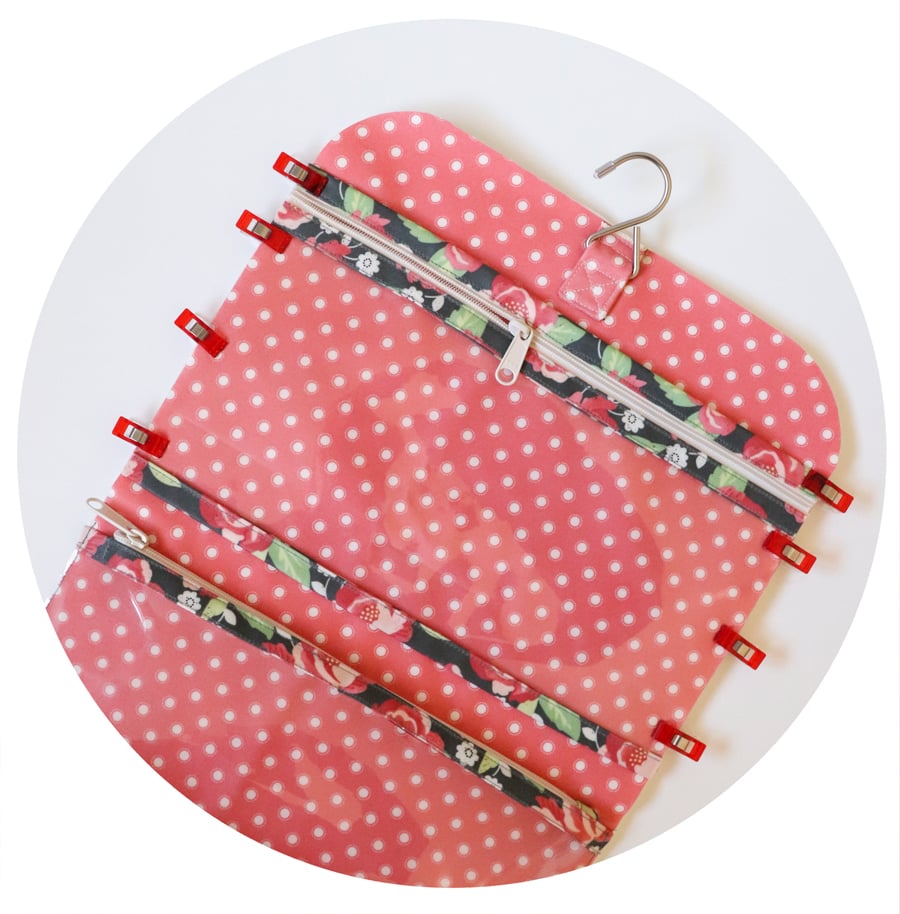
One of the perks of working with laminates is they are extra durable and easier to clean than traditional quilting cotton. This makes them ideal for bag making, which is why I came up with my first ever bag pattern, Kiss & Makeup, the hanging travel bag you see here.
Special Tools You Will Need
Sewing with laminates comes with a different set of rules than working with regular cotton prints. Let’s talk about some of those special tools you should invest in to sew with them. As it turns out, they make a HUGE difference in the quality of how your projects turn out. Most (but not all) of the tools I’m about to mention are pictured below.
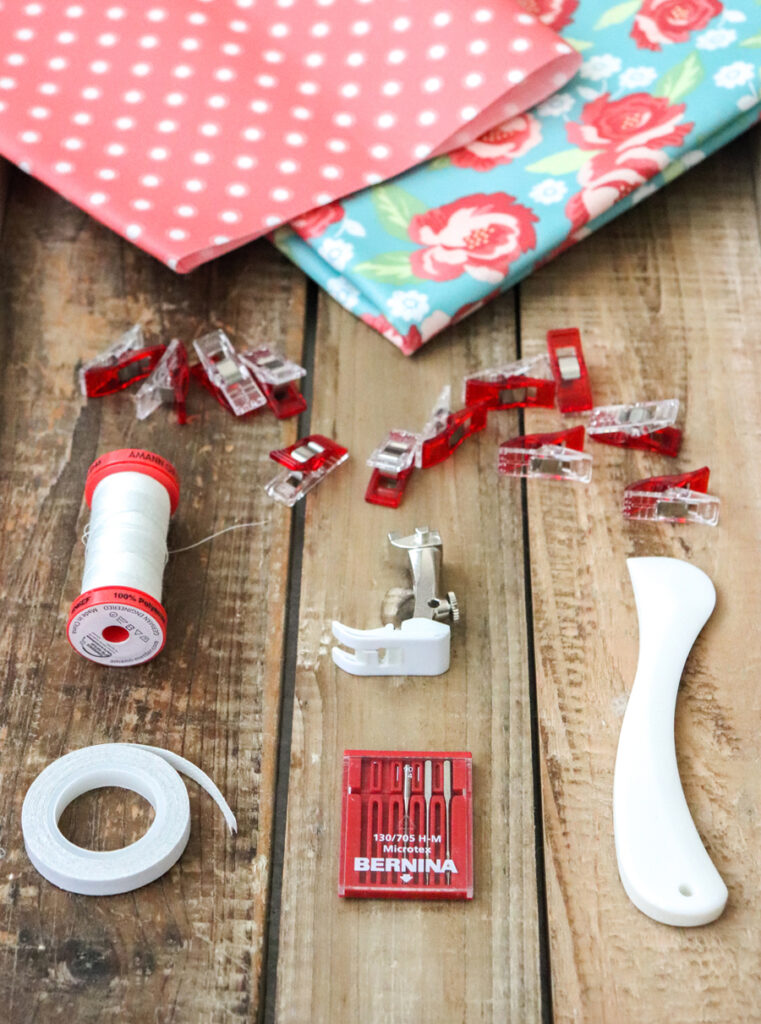
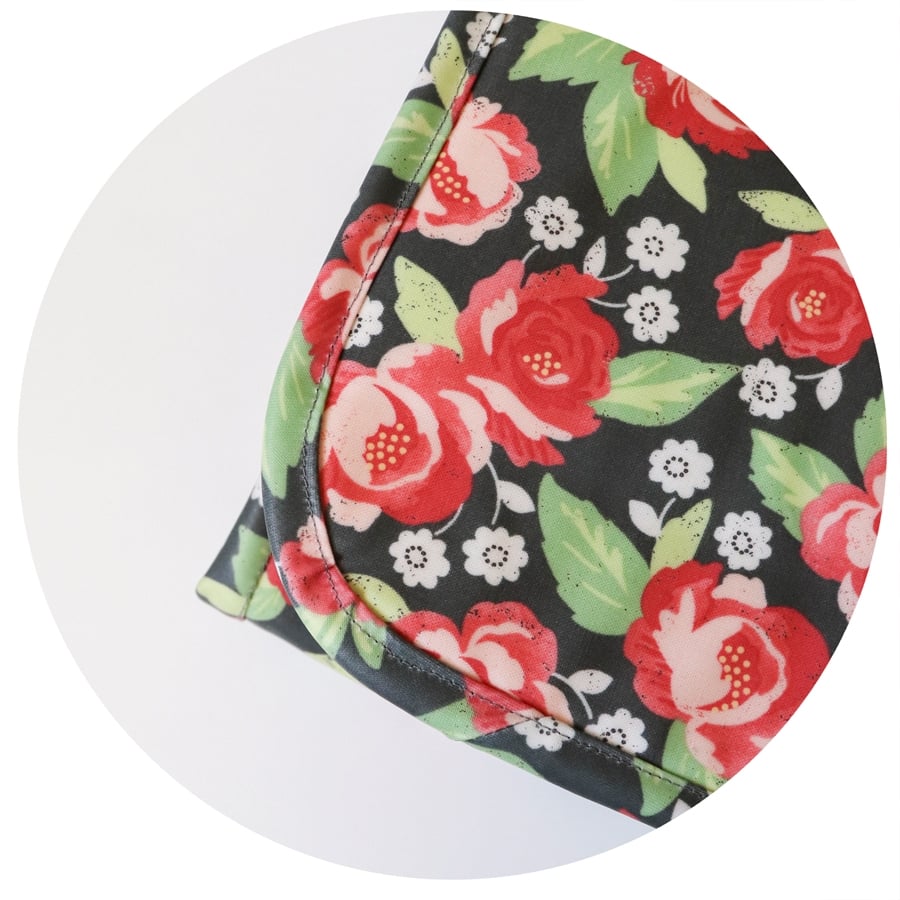
- Polyester thread. I didn’t think it would make much of a difference what type of thread I used, but it did. I initially used a high quality Aurifil cotton thread I had on hand. I was surprised to find the stitching looked uneven and messy. I switched to the Mettler brand polyester and had a visibly nicer result. Because the Kiss & Makeup bag has a lot of top-stitching (an example below), it was important to me that the stitching look as nice as possible.
- Teflon/Non-stick Sewing Foot. Laminates have a tendency to stick to your sewing machine. One source of resistance is the machine’s standard metal feet; look for a non-stick Teflon foot to invest in. Mine is Bernina’s “Zigzag foot #52.” You will want to research what Teflon non-stick foot is available/compatible with your specific sewing machine.
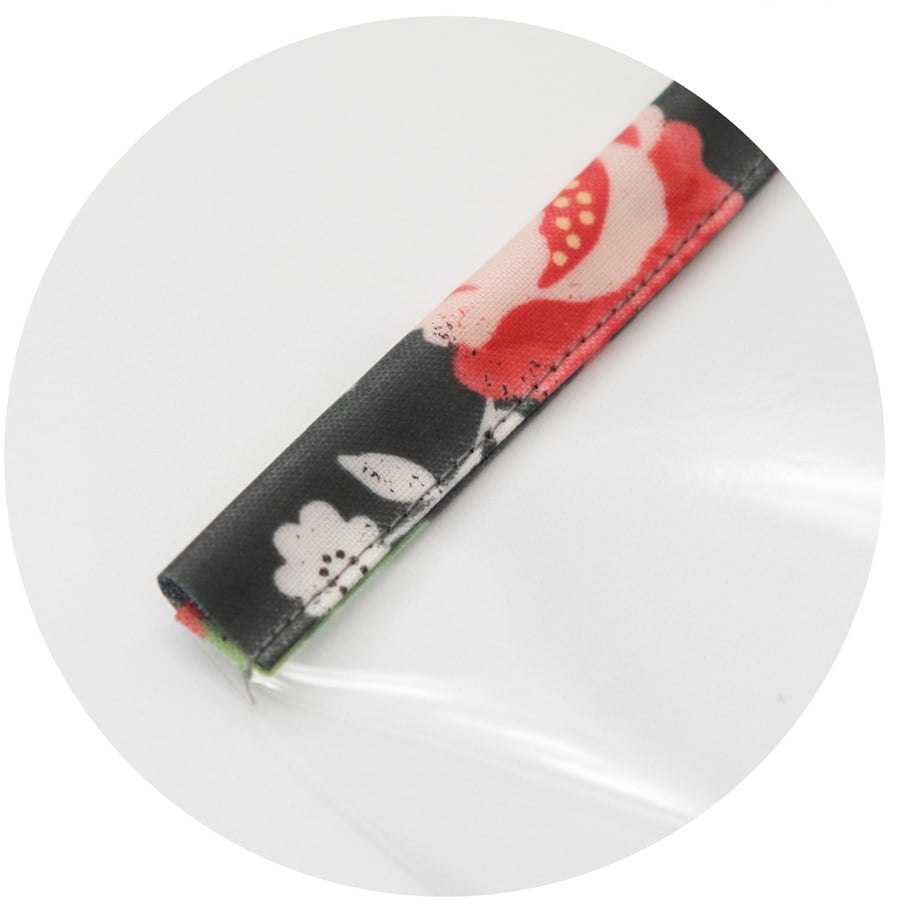
- Tissue paper. Another source of resistance is the bottom of the project–it will stick to the sewing machine bed and feed dogs. To remedy this, place a scrap of tissue paper underneath the project. This will help it glide through smoothly. Yes, I’m suggesting you sew the tissue paper to the bottom of the project. It sounds like a strange thing to do, but it’s really not a big deal. Just tear the tissue paper away afterwards and discard.
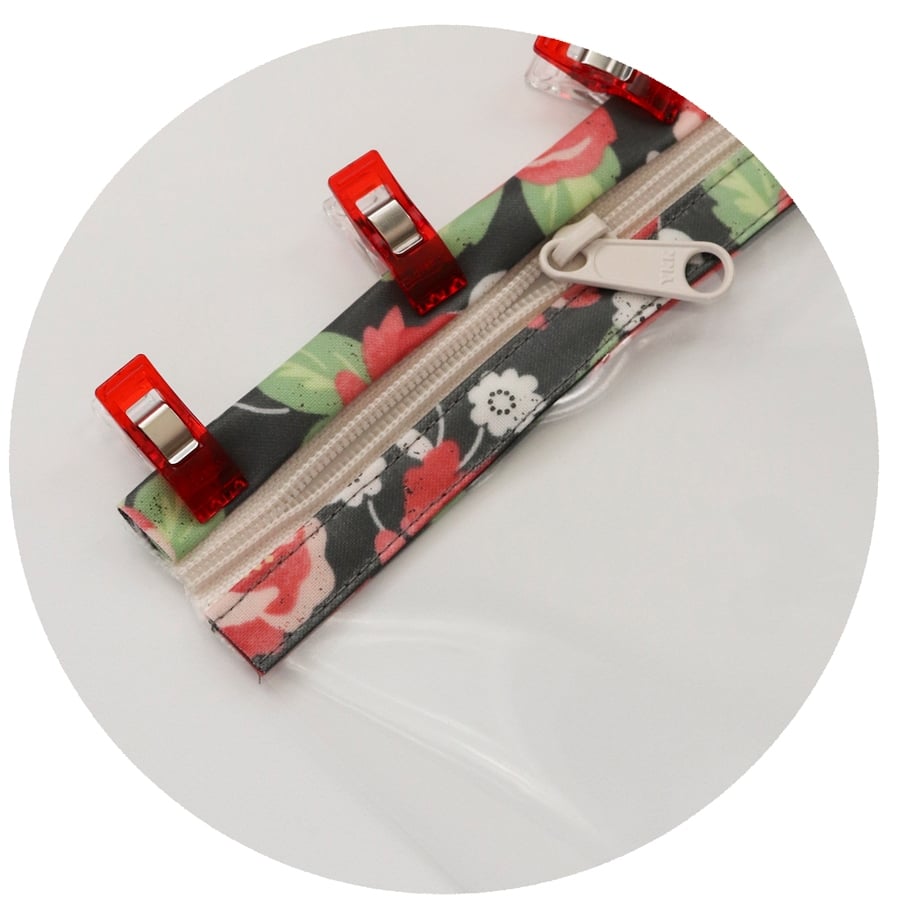
- Wonder Clips. Because laminates/vinyl retain holes from pinning, one great way to avoid this is to use binding clips to hold the layers in place. I used them almost exclusively for all my pinning needs in my bag project.
- 1/4″ Wonder Tape. There were a couple exceptions where I couldn’t use Wonder Clips to ‘pin’ things in place for the project… One example came in positioning the zippered pockets in place on the bag lining as seen above. The Wonder Clips held everything in place at the sides, but I needed something to “glue” the bound areas of each pocket down. This is where Wonder Tape came in handy. Since Wonder Tape is a double-sided adhesive, I added a skinny strip underneath the bound edges in place so I could stitch them down. And Wonder Tape dissolves after being washed (in case that matters to you, I felt it was a moot point here since the skinny 1/4″ width remains out-of-sight).
- Microtex Needle. This sewing machine needle is extra thin and sharp. It’s a game changer for working with laminates. It penetrates the layers easily and was another factor in making the stitching look clean and clear… which I learned the hard way through testing, of course.
- Hera Marker. Some laminate projects require markings to be made. If yours does, consider using a hera marker to make your markings. (It marks creases instead of ink.) Ordinarily, I love using a Frixion (heat removable) pen for markings, but ironing laminates is a no-no…
Ironing with Laminates
Which bring me to the last topic I want to discuss: PRESSING.
- First things first, DON’T directly iron a laminate, it will melt. IF you need to remove wrinkles, use a low heat setting over the BACK (cotton side) of the laminate. All laminates are going to be slightly different in the level of heat they can handle. The Moda brand gave me no problems when it came to removing wrinkles, but every manufacturer is different. I was actually able to add a light shot of steam to help remove the wrinkles and spent probably 4-5 seconds over each wrinkled area at the most. (I didn’t need longer than that.) It would be best to test a scrap of your laminate to see what level of heat it can handle.
- When it comes to pressing seams or creating folds, you can use weight or a seam roller. Wonder Clips can also be helpful, especially when it comes to bindings. The Kiss & Makeup bag involves binding the edges of zippers, vinyl pockets, and eventually the perimeter of the bag It would have been ideal to use an iron in creating the binding creases, but obviously wasn’t an option. Instead, I used a combination of weight + Wonder Clips to create and hold the binding shut.
And that’s it. I can’t emphasize enough the importance of each of these tools. I made at least 6 tester bags to test all of these tools and can personally attest to the effectiveness of having the right tools for the best looking end-product. If you have any questions, please leave a comment below.
Like this post? Drop your email in the box below to get new post notifications via email.
Leave a Reply
You must be logged in to post a comment.