
FREE: Scrappy Dice Quilt PDF Pattern
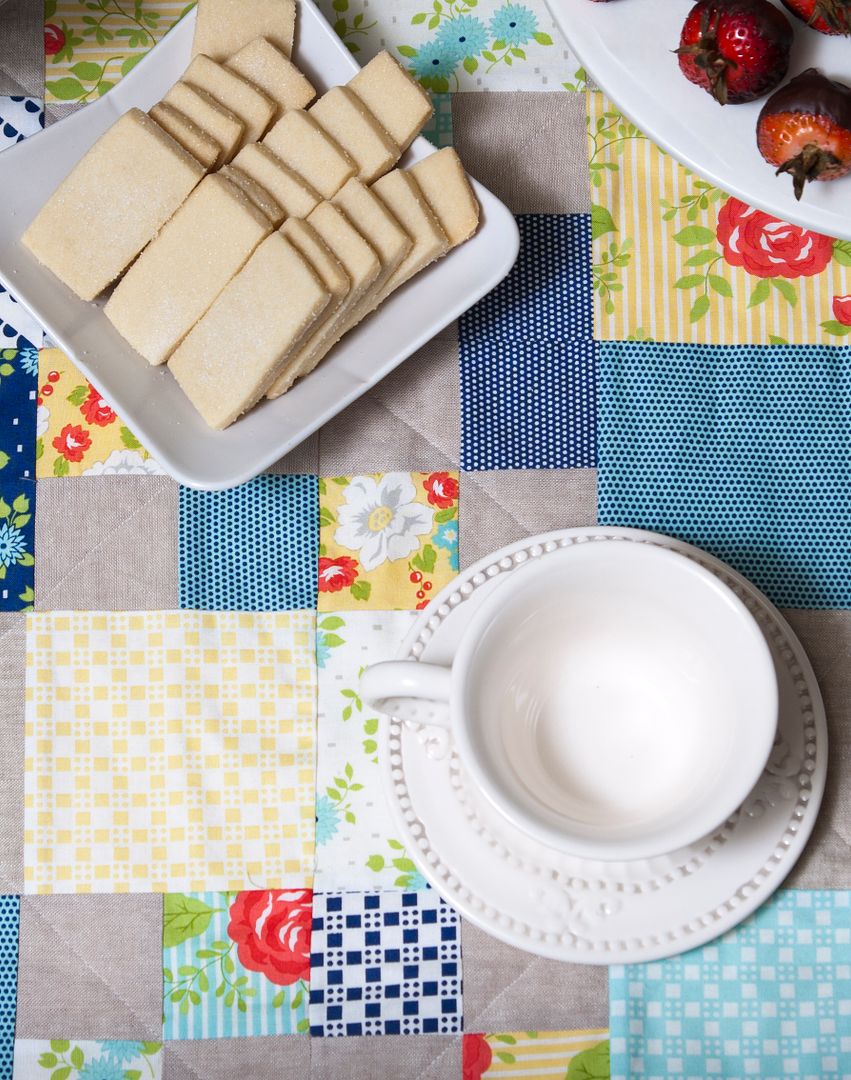
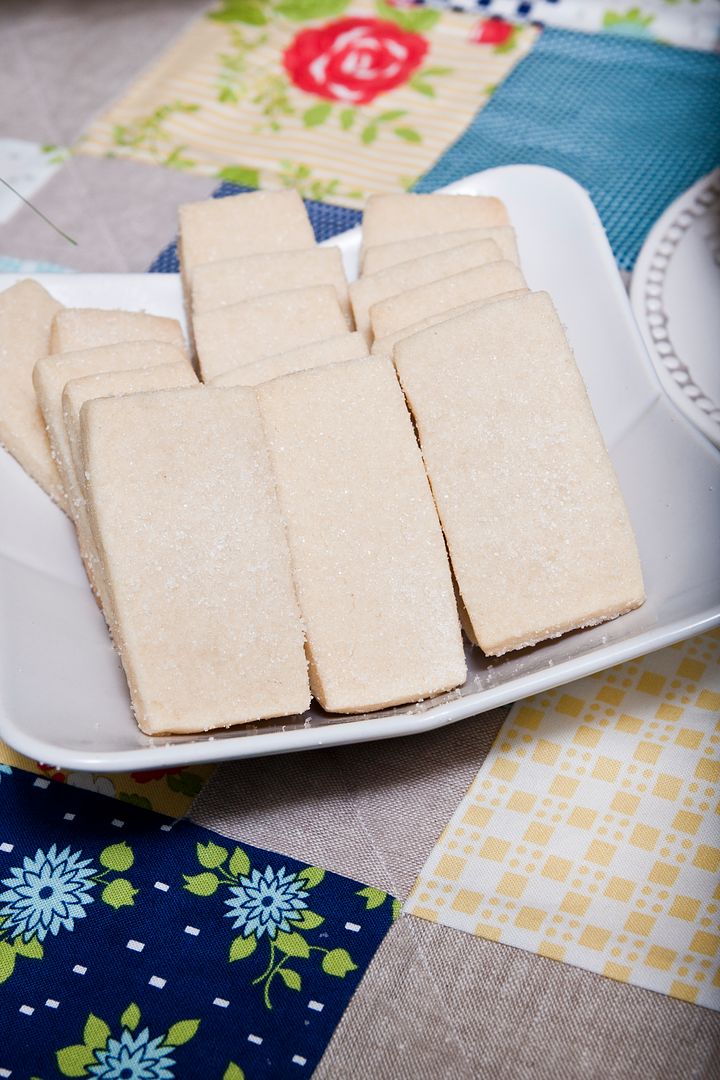
Over the weekend, my little girl turned 3. To celebrate, we held a fancy tea party. Of course, there was homemade lemonade, chocolate-dipped strawberries, cucumber sandwiches, homemade shortbread, and petit fours. No tea party is complete with a pretty table cloth; I decided to use this scrappy quilt made of happy, bright floral prints. (Fabric is Happy Go Lucky by Bonnie & Camille for Moda Fabrics. I got the inspiration from this beautiful tea party photo shoot by Peekaboo Photos using a quilt made by Lu Hale.
I used fat quarters and yardage, but scraps would be ideal. I did keep track of how I made mine and will be sharing the free tutorial of my Scrappy Dice quilt with you here.
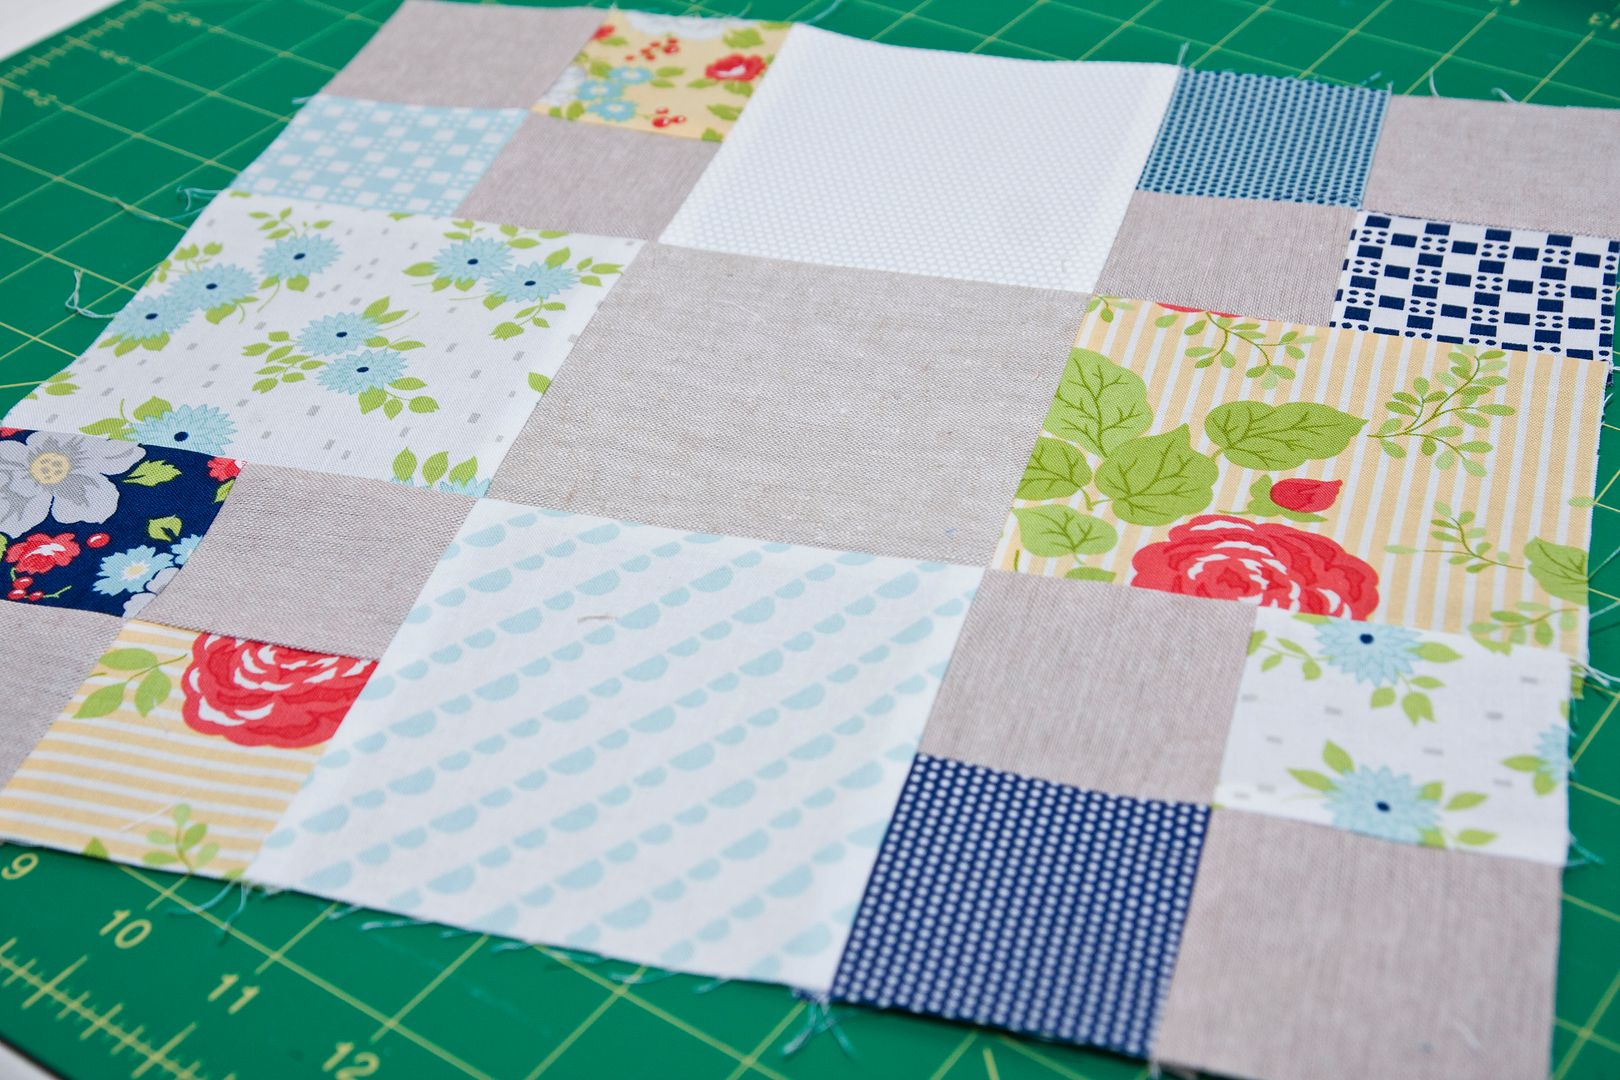
Within each block, you will notice an X shape in the linen colored fabric. The X reminds me of the number five on a die, which is where the name came from.
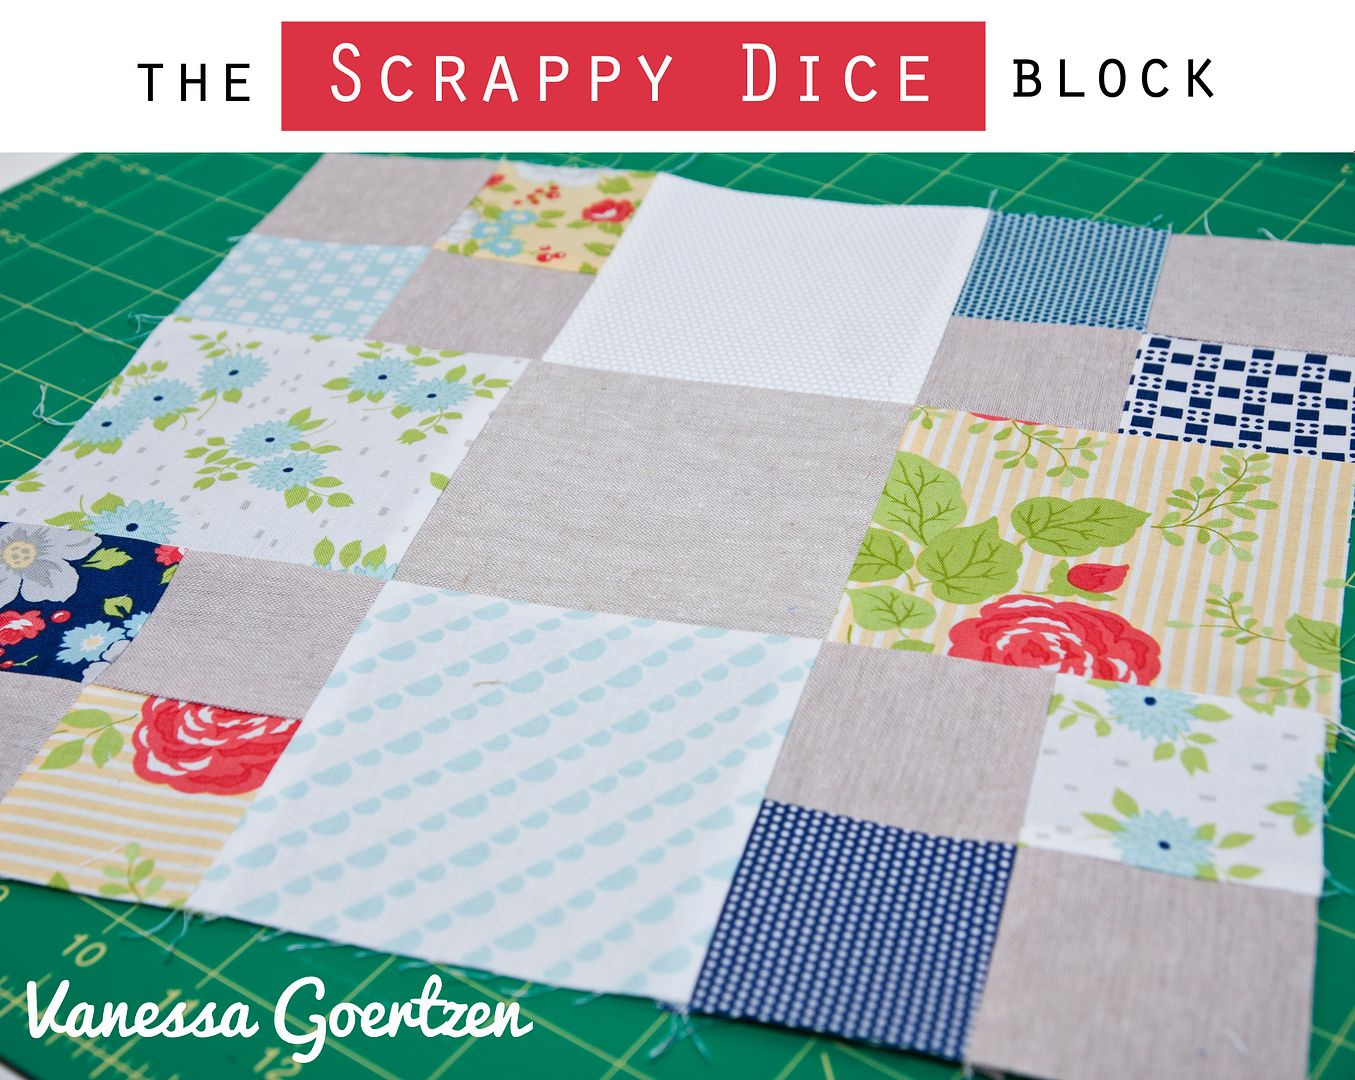
The first thing you will need to decide is what accent fabric to make the X shape in your overall project. I used Yarn Dyed Flax in “Linen” by Robert Kaufman for all 36 blocks–but you could certainly use a variety of prints to make it more scrappy. This is a great way to use up scraps. You can mix and match mini charm squares, charm squares (trimmed to 4.5″ square), or whatever you have in your fabric stash.
FINISHED BLOCK: 12″ x 12″
FINISHED QUILT: 60.5″ x 84.5″ (35 blocks set 5×7)
MATERIALS NEEDED:
- (2) yards accent fabric
- *(140) squares 4.5″ x 4.5″ in assorted prints (scraps, charm packs, etc.)
- *(280) squares 2.5″ x 2.5″ in assorted prints (scraps, charm packs, mini charm packs, etc.)
- 5 1/4 yards backing fabric
- 3/4 yard binding fabric
- 69″ x 94″ batting
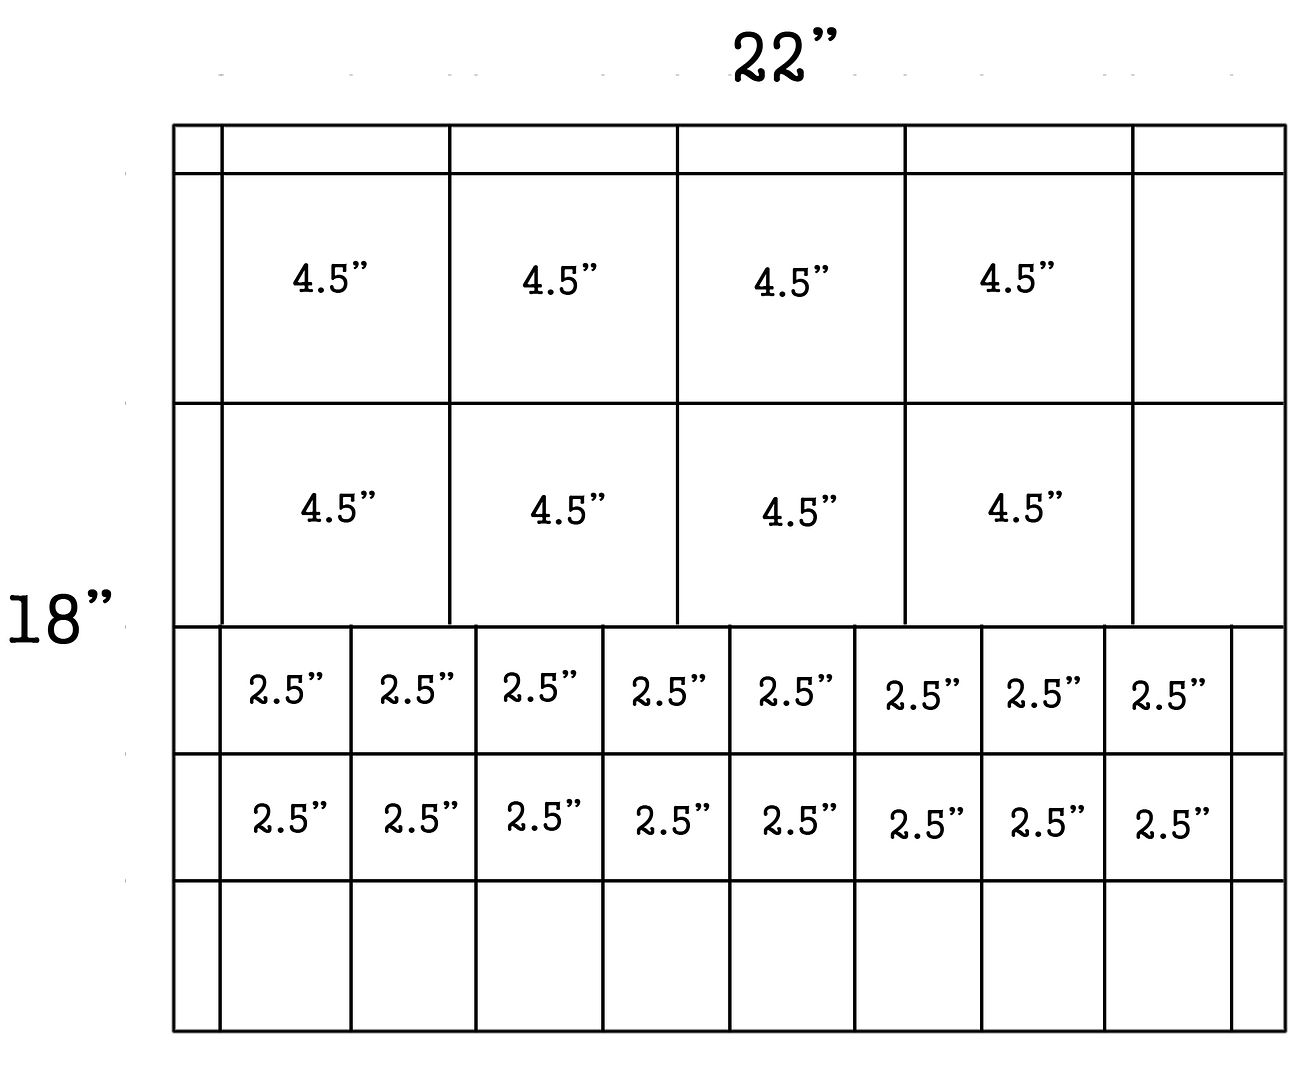
*If you would like to use 18 fat quarters in place of scraps, refer to the following diagram to cut the following per print:
- (8) squares 4.5″ x 4.5″
- (16) squares 2.5″ x 2.5″
CUTTING
From the accent fabric, cut the following:
- (5) strips 4.5″ x WOF. Subcut (35) squares 4.5″ x 4.5″, (8 per strip).
- (18) strips 2.5″ x WOF. Subcut (280) squares 2.5″ x 2.5″ (16 per strip).
From the binding fabric, cut (8) strips 2.5″ x WOF.
MAKING THE BLOCKS
To make 1 block, gather the following:
- (1) square 4.5″ x 4.5″ of accent fabric
- (8) squares 2.5″ x 2.5″ of accent fabric
- (4) squares 4.5″ x 4.5″ in assorted prints
- (8) squares 2.5″ x 2.5″ in assorted prints
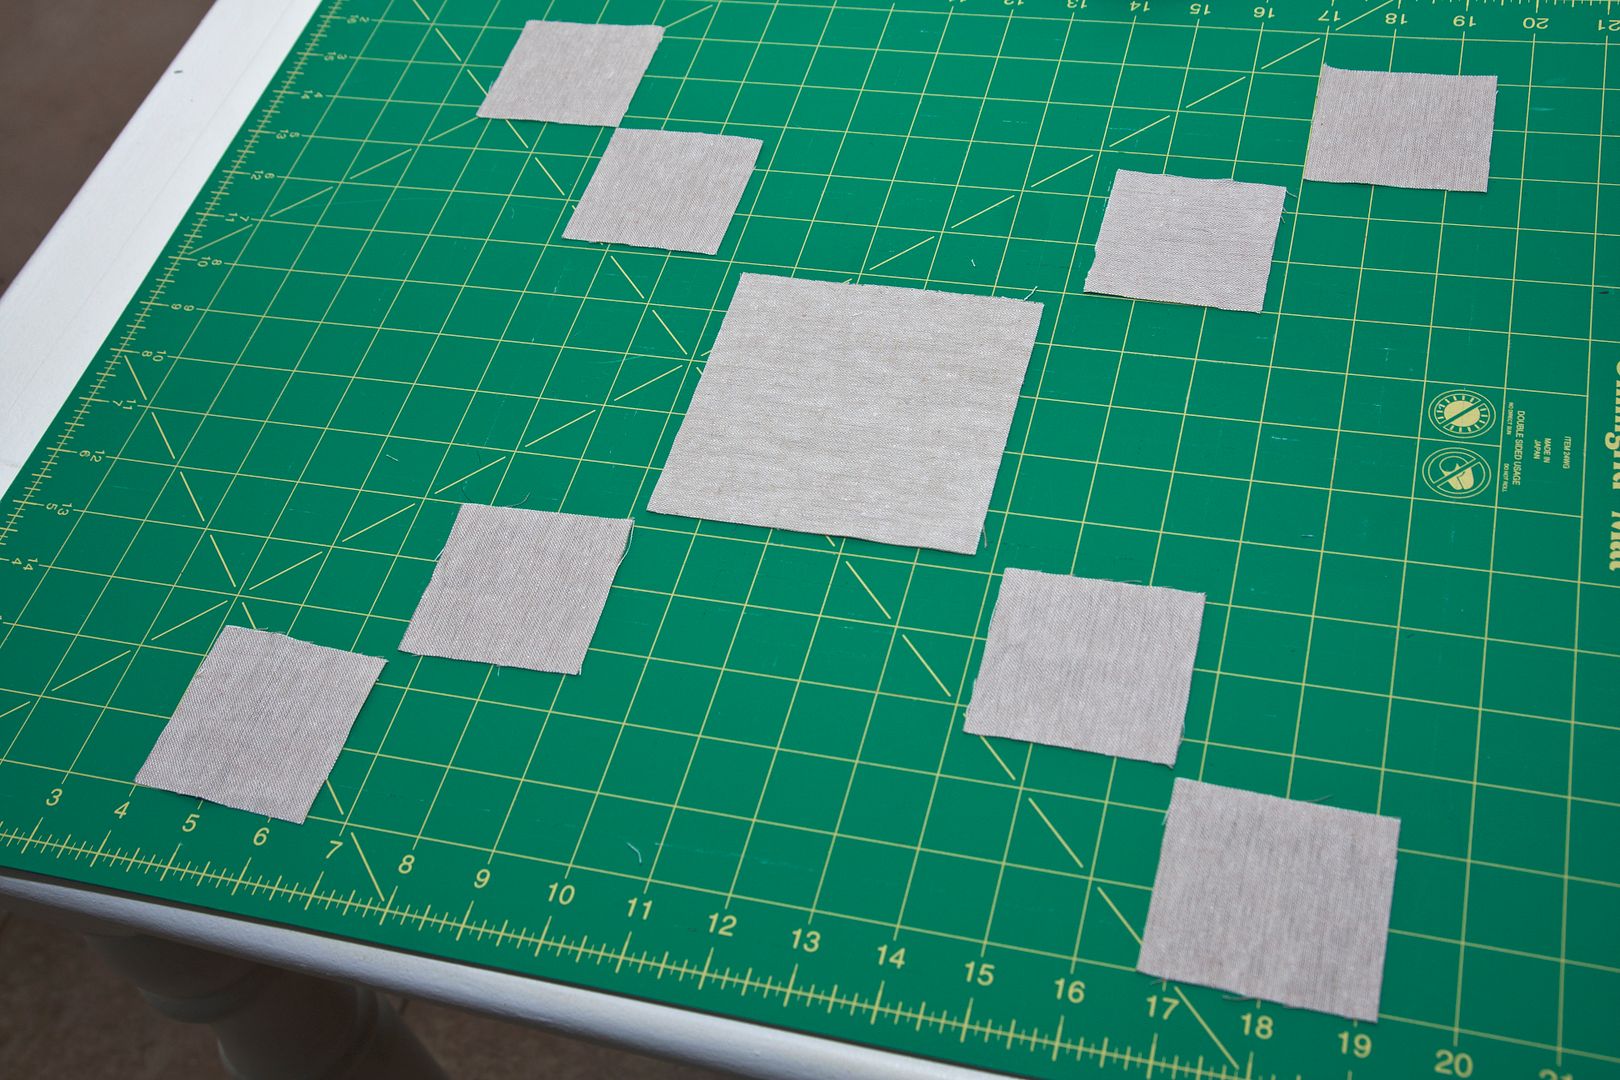
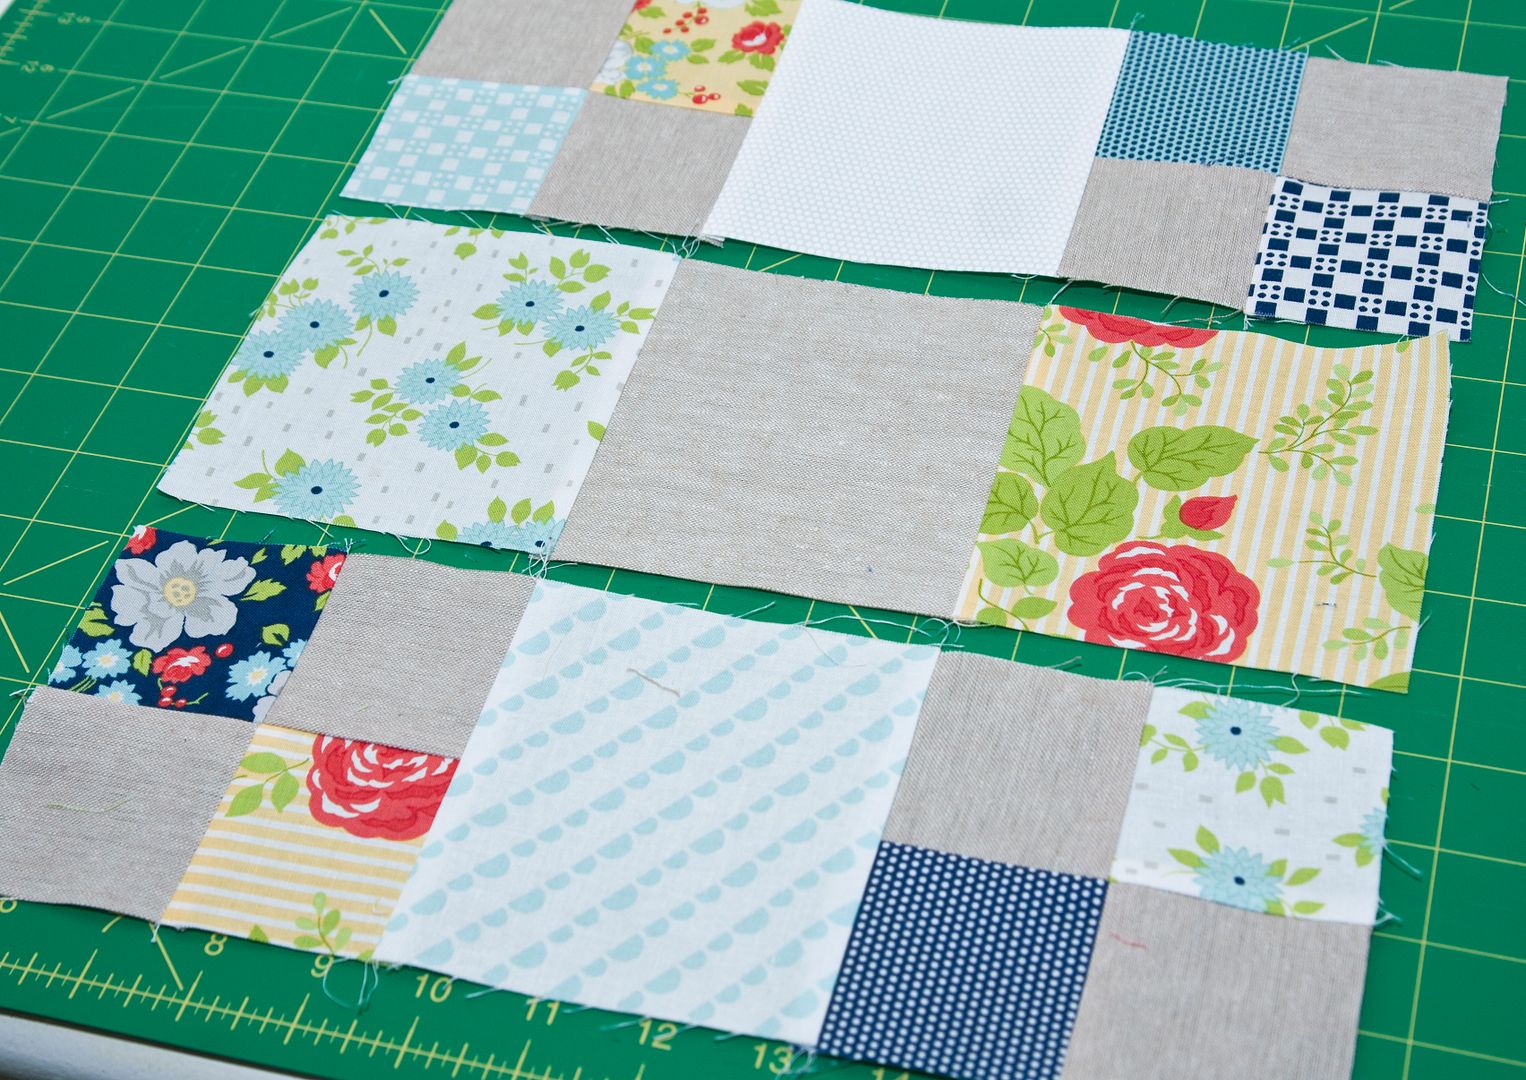
STEP 1: Arrange the accent print squares into the ‘X’ shape as shown in the picture.
STEP 2: Fill in (4) assorted squares 4.5″ x 4.5″ around the center accent square as shown.
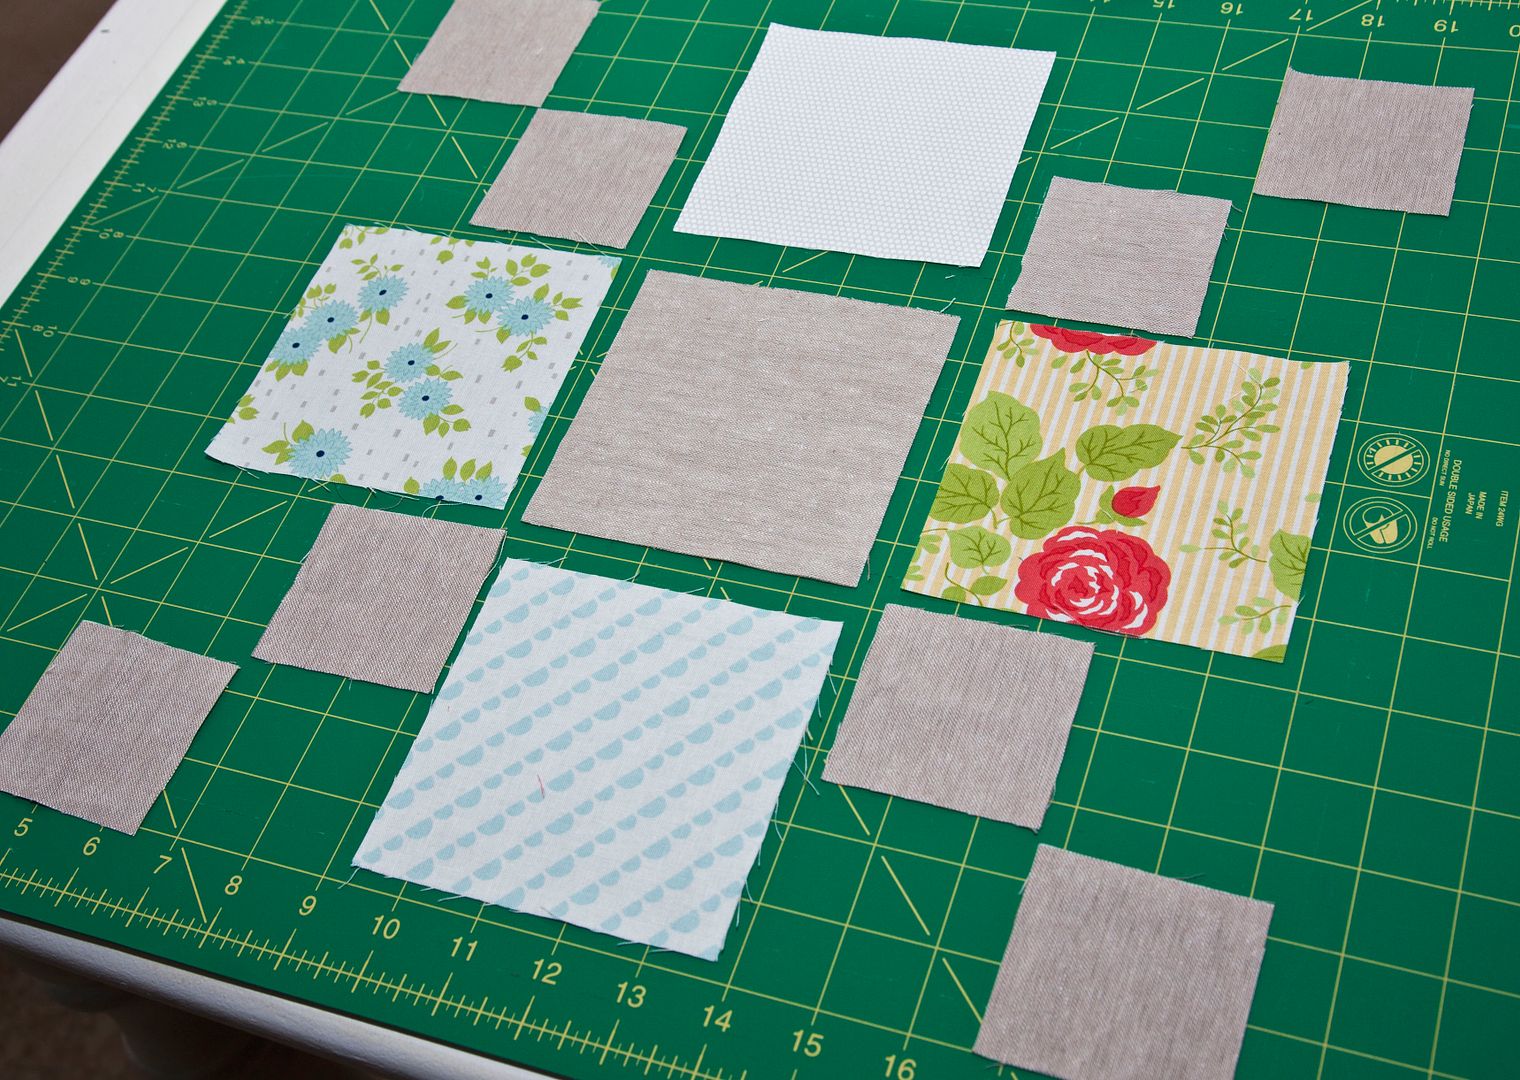
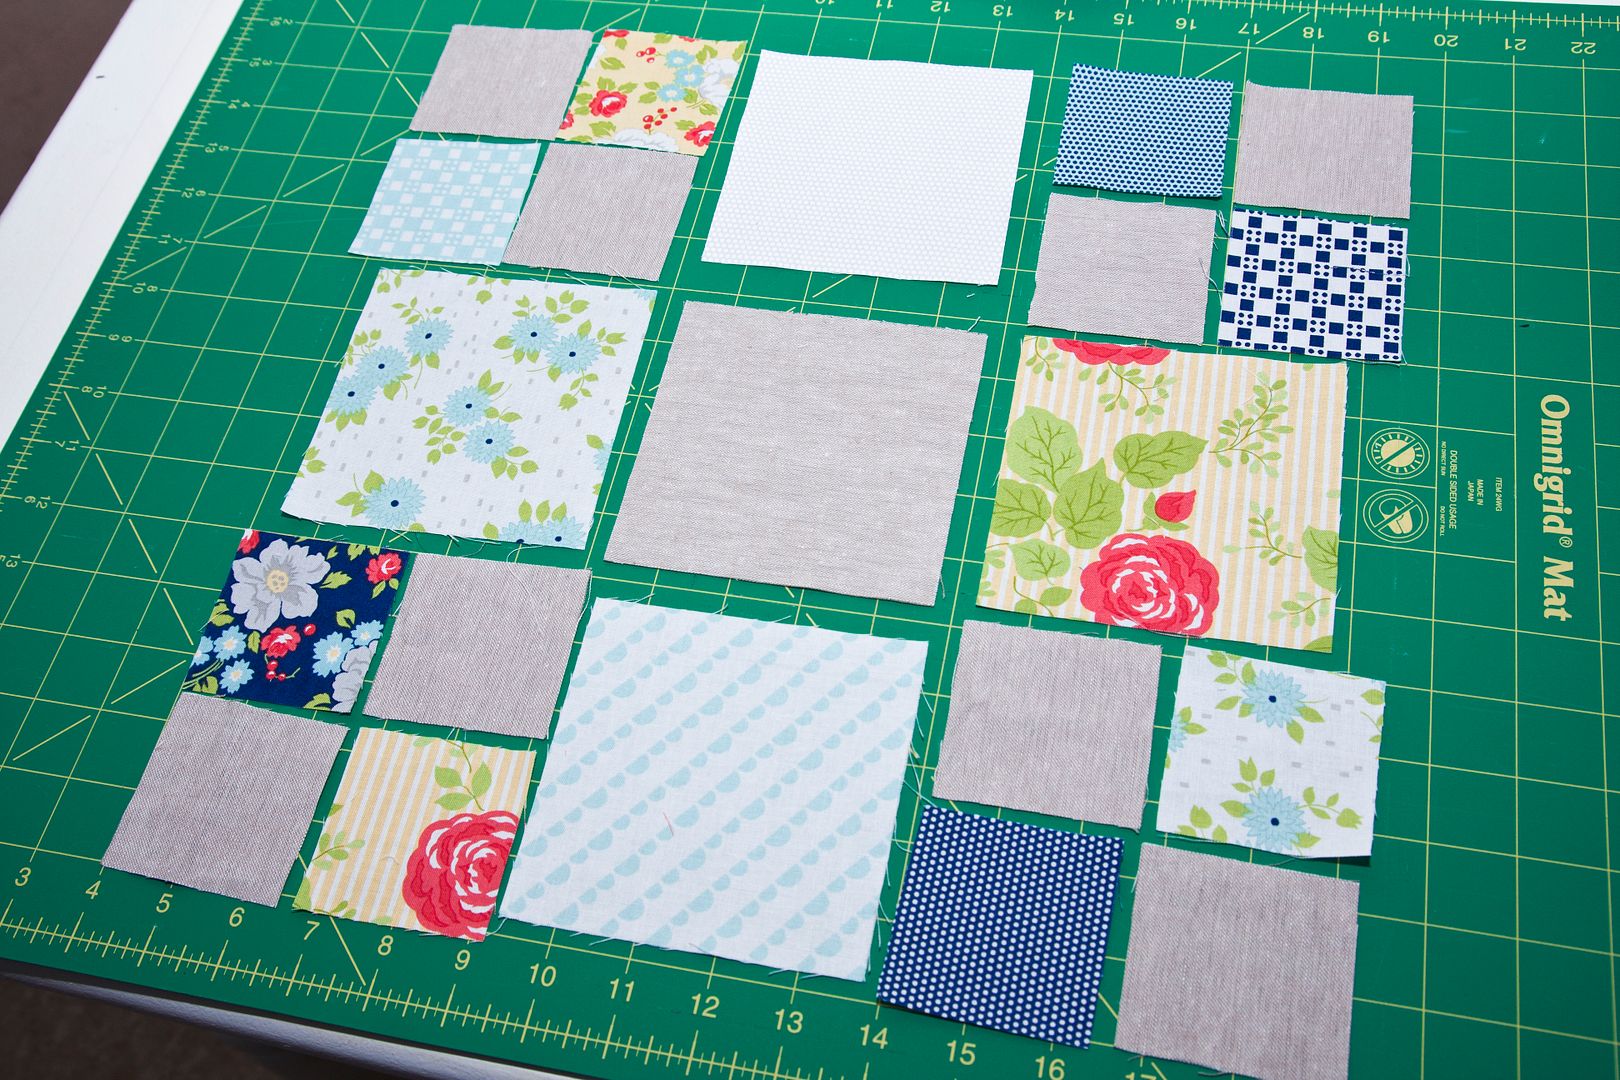
STEP 3: Fill in the remaining (8) assorted squares 2.5″ x 2.5″.
STEP 4: Using 1/4″ seam allowance, sew the 2.5″ squares into 4-patch block units. (I recommend checking out Deonn Stott’s explanation on pressing seams so they will “nest” here.)
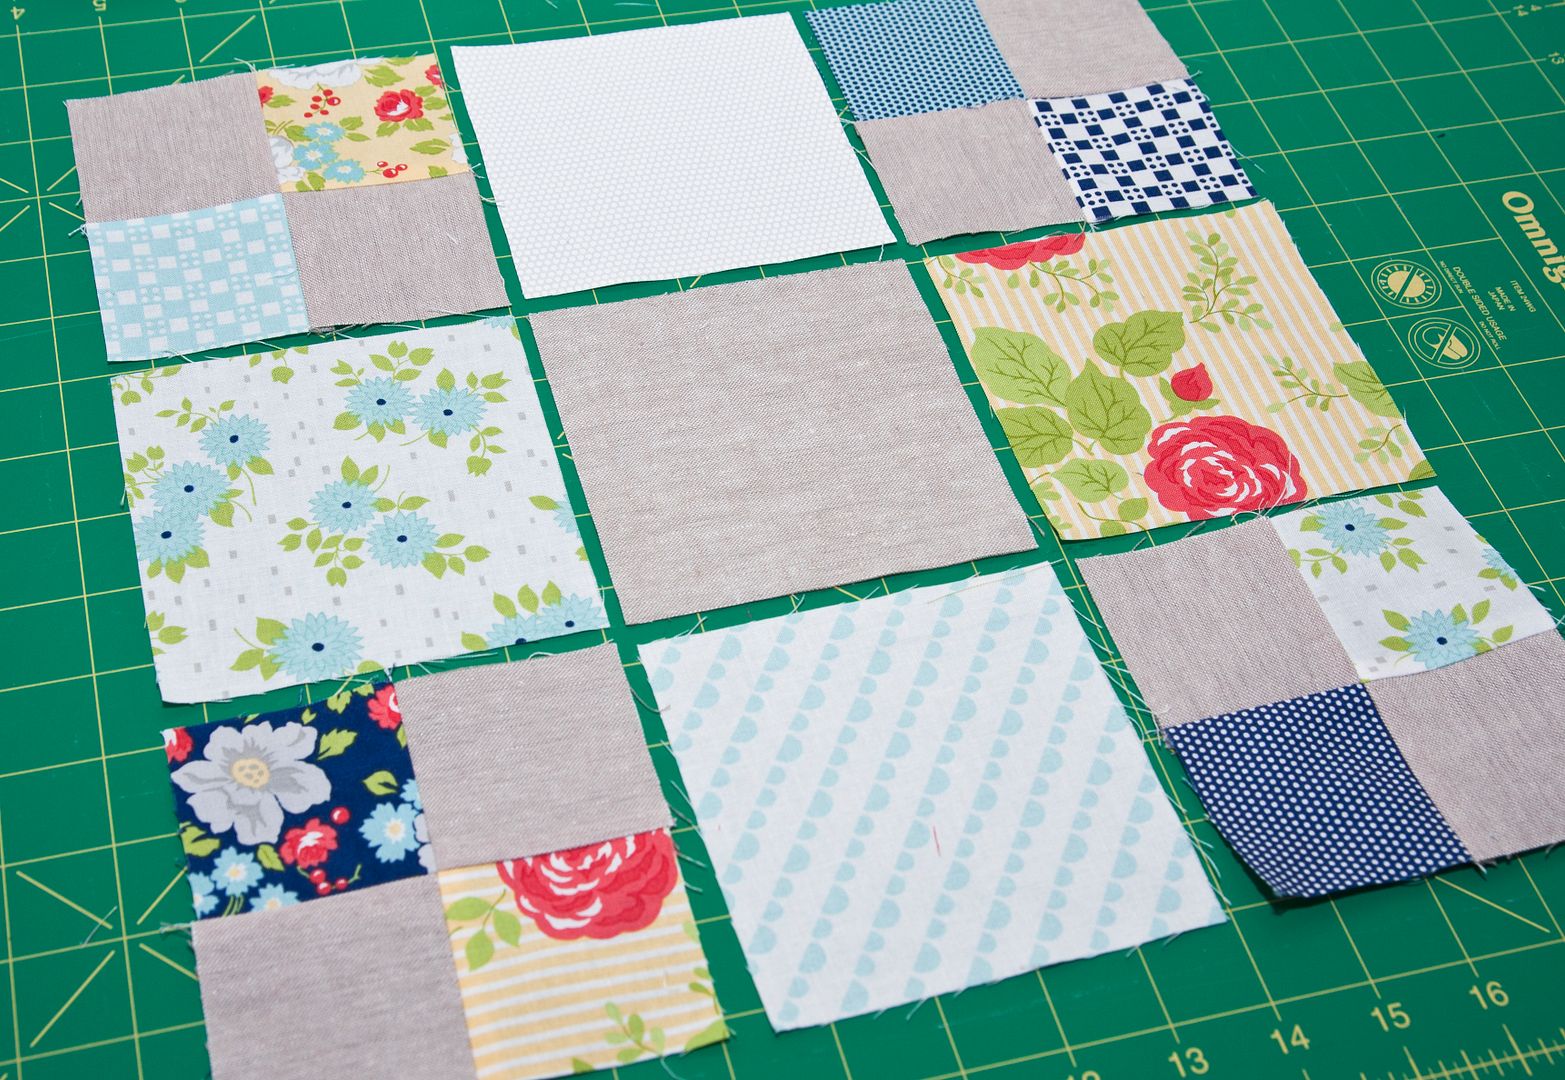
STEP 5: Sew the units into rows. Press the seams, alternating the direction of the seams from row-to-row so they will “nest” or lock into place more easily.
STEP 6: Sew the rows together, lining up the seams and pinning in place beforehand. Press. Unfinished block should measure 12.5″ 12.5″. I made (35) blocks.
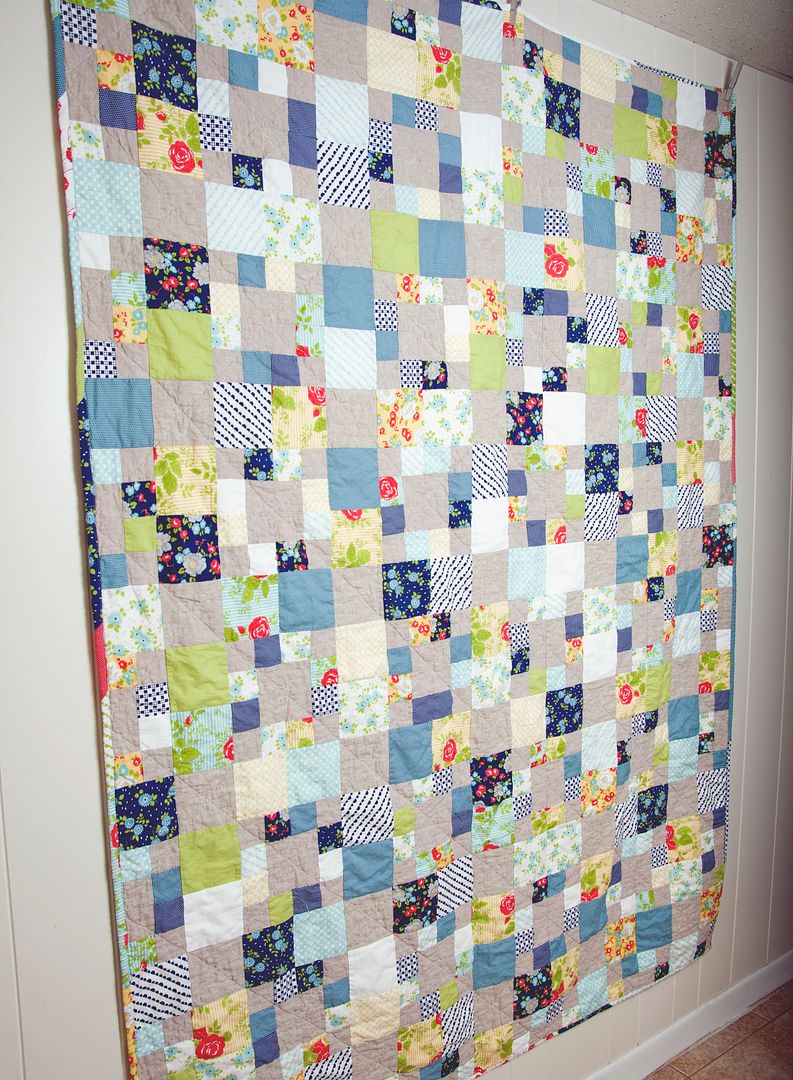
STEP 7: Arrange them as you’d like! I set my blocks into 7 rows of 5. Once it is arranged to your liking, sew the blocks into rows and press (alternating the pressing direction from row-to-row). Sew the rows together; press. My finished quilt size for the 5×7 setting is 60.5″ x 84.5″.
TIP: If you want to make an extra block (36 blocks total), this would accommodate a 6×6 square quilt top setting and finished quilt size of 72.5″ x 72.5″. (There would need to be a few adjustments to the materials but you’d have more than plenty backing/batting/binding fabric.)
Baste, quilt, and bind the quilt using your desired method. I usually hire a long arm quilter for the basting/quilting part, but have a detailed tutorial for the quilt binding process here.
Like this post? Drop your email in the box below to get new post notifications via email.
Leave a Reply
You must be logged in to post a comment.
6 Comments
Phyllis
July 8, 2013 at 10:10 pmI saw this on your IG, lovely quilt! Thanks for sharing this tutorial!
Cheryl
July 11, 2013 at 3:31 pmLove, love this quilt….and so happy to find your blog. It's wonderful!!!!!!
MaterialGirlQuilts
July 12, 2013 at 6:39 amSuper cute and love that you all had a fun tea party 🙂
Amanda
Audrey
November 24, 2014 at 7:58 pmA very special way to celebrate a little one's third birthday with a fabulous quilt. Thanks for the tutorial.
Unknown
October 25, 2015 at 10:40 amThis comment has been removed by the author.
Unknown
March 28, 2018 at 7:25 amThank you for sharing this tutorial with me!