
Making Shapes using Iron-Adhesive

I am obsessed with lite Heat’N’Bond iron-adhesive. It’s my favorite way to create clean, crisp shapes for quilts, stitcheries, pillows, etc. You just need three items for this tutorial: a template/pattern to trace, fabric scraps, and some Lite HeatnBond! In this example, I’m using my baby boy shape template to create a small snail body.
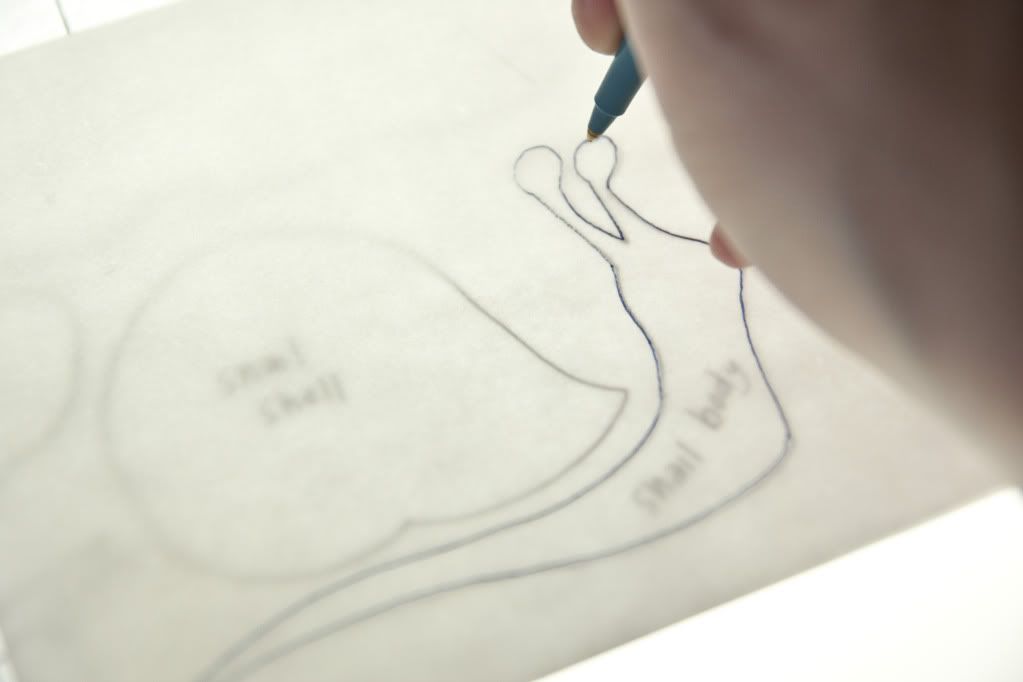
If you’re using HeatnBond for the first time, you will notice that there is a gritty-side and a paper-side. Using a lightbox or sunlit window, trace the [reverse image] of your shape onto the paper-side of the iron adhesive. (For a snail body that faces left, I will trace one that faces right.)
Loosely cut around the image. Lay the image onto the fabric so that the gritty-side of the HeatnBond touches the “wrong” side of the scrap of fabric.

Iron over the layers. (See package instructions for recommended heat setting.) The heat from the iron will fuse the two layers together.

Carefully cut out the image.

Remove the paper to reveal a tacky underside.

Then, he’s ready to be ironed onto the project!!! After the project has cooled, I recommend stitching the shape in place.
Leave a Reply
You must be logged in to post a comment.
4 Comments
Amanda
September 8, 2011 at 4:33 pmDo you find that your edges fray at all?
Vanessa Goertzen
September 8, 2011 at 4:41 pmNope! No fraying–the iron-adhesive leaves a tacky residue and holds the fabric together.
Tina
September 10, 2011 at 6:29 pmDoes the Iron adhesive work well with all types of fabric? Felt, Fleece, minki Dot, etc?
Vanessa Goertzen
September 12, 2011 at 3:58 pmGood question, Tina! Most materials work just fine! The only one I have ever had problems with is felt. (It melts to the iron and practically ruins it…eek!) I have used fleece, chenille, minky, rattlesnake ribbon…check out my baby texture books to see just about every texture I have used.) With the thick THICK textures (like fleece), it is harder to fuse it in place by running the iron over it because all that thickness makes it harder for the heat to go through. In that case, I generally turned over the project (carefully keeping the shape in place) and ironed through the back. Make sense?