
Charm School Corrections
MADAME BUTTERFLY (page 71)
Just a clarification–some of the block assembly diagrams show what a “finished” block would look like instead of “unfinished.” (A “finished” block shows what it would look like after it’s been sewn into the quilt and lost 1/4″ around the perimeter.) You might notice this in Steps #6, 13, 14, 17, 18, 19, and 20, if you are looking closely.
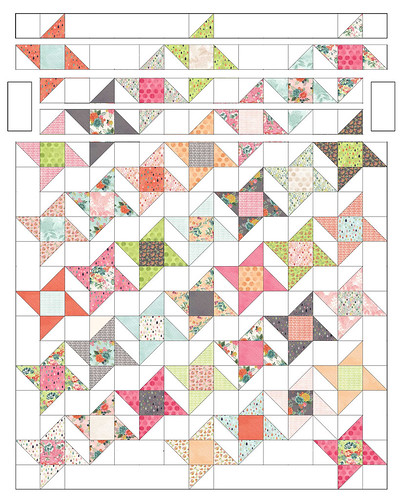
ROCK STAR (page 81)
Under “Put it Together,” the instructions say to sew the units into columns (Step #3).
It is actually easier to sew the units into rows (recent printings have been updated with these changes). However, you will notice that the 3rd & 4th rows share a white vertical rectangle at the ends… you will need to sew the units in between into their rows first, sew those 3rd/4th rows together, THEN add the white vertical rectangles to the outsides of these 3rd/4th rows and continue. This will repeat throughout. (Rows 6/7, 9/10, 12/13, and 15/16.)
HOODWINK (page 95)
Under the heading “HALF SQUARE TRIANGLES,” Step 1 should say to sew 1/4” away from the marked line, cut along the marked line, and press. (The adjacent diagram is correct.)